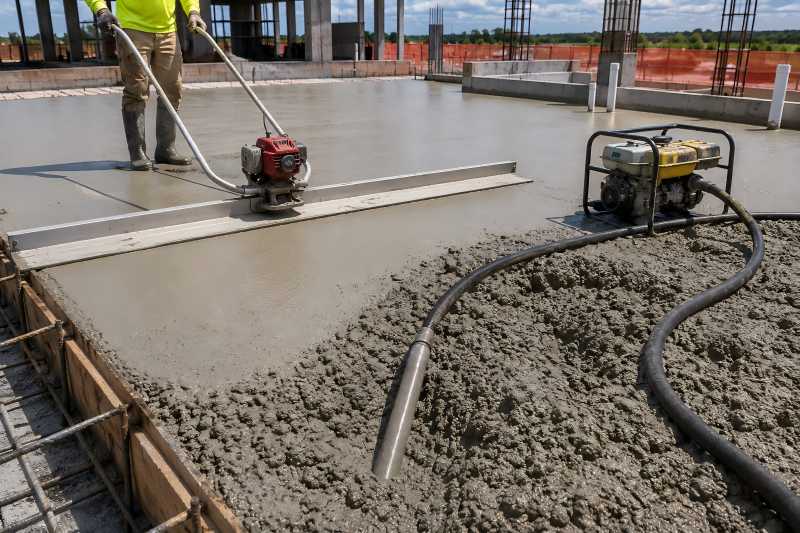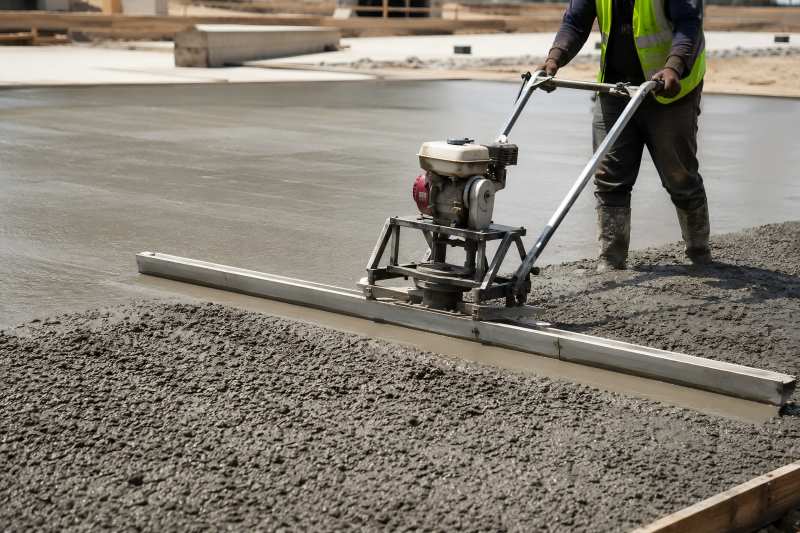
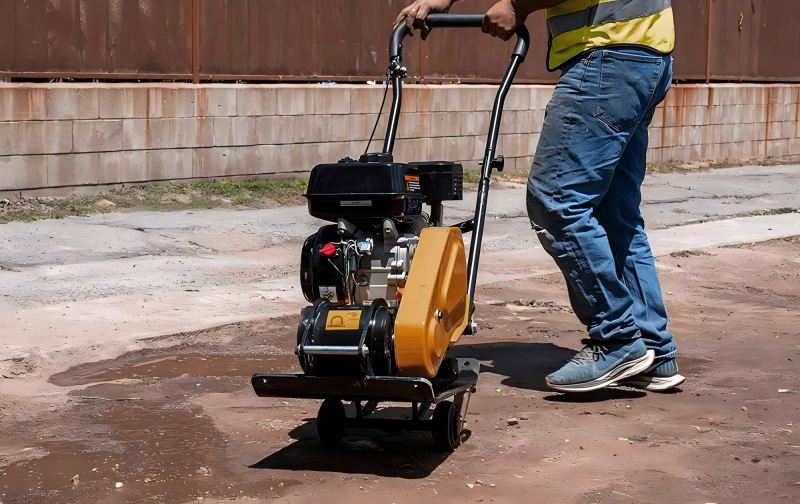
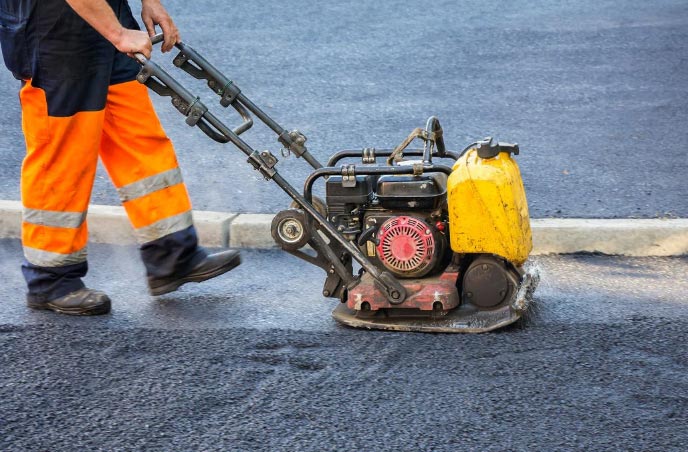
Plate compactors are essential tools in construction, landscaping, and roadwork, offering efficient soil and asphalt compaction through vibratory force. Like all machines, however, they are subject to wear and occasional malfunction. Timely troubleshooting can prevent small issues from escalating into major failures, saving both money and project time.
As a manufacturer of professional-grade plate compactors, we’ve created this comprehensive guide to help contractors, operators, and maintenance personnel identify and resolve common compactor problems effectively.
The Importance of Plate Compactor Health
The plate compactor’s productivity is tied directly to engine performance, vibration system integrity, and proper mechanical function. Diagnosing problems early ensures operational safety, extends the machine’s lifespan, and maintains compaction quality. Proper troubleshooting requires a mix of visual inspection, mechanical testing, and understanding of the machine’s core components.
Safety First: Before You Begin Troubleshooting
Before opening any part of the plate compactor or running diagnostics:
- Turn off the engine.
- Let hot components cool.
- Disconnect the spark plug (for gasoline engines).
- Wear safety gloves and eye protection.
- Work in a well-ventilated area.
Safety ensures accurate diagnosis and protects you from injury.
Engine Won’t Start
Possible Causes:
- Empty or stale fuel
- Carburetor or fuel filter blockage
- Unclean spark plug
- Faulty ignition coil
- Choke not engaged
- Air filter blockage
Troubleshooting Steps:
- Check fuel level and refill with clean, fresh fuel.
- Examine, clean, or swap out the air filter.
- Spark plugs should be removed, cleaned, and replaced if severely fouled.
- Confirm the choke is engaged (when cold starting).
- Examine the fuel line and filter for blockages.
- If still unresolved, test the ignition coil using a multimeter.
Manufacturer Tip: Use ethanol-free fuel to prevent carburetor clogging over time.
Weak or No Compaction Force
Possible Causes:
- Low engine RPM
- Faulty or broken exciter mechanism
- Worn or loose V-belt
- Incorrect engine oil level
- Compactor running on idle
Troubleshooting Steps:
- Rev up the throttle to full operation speed.
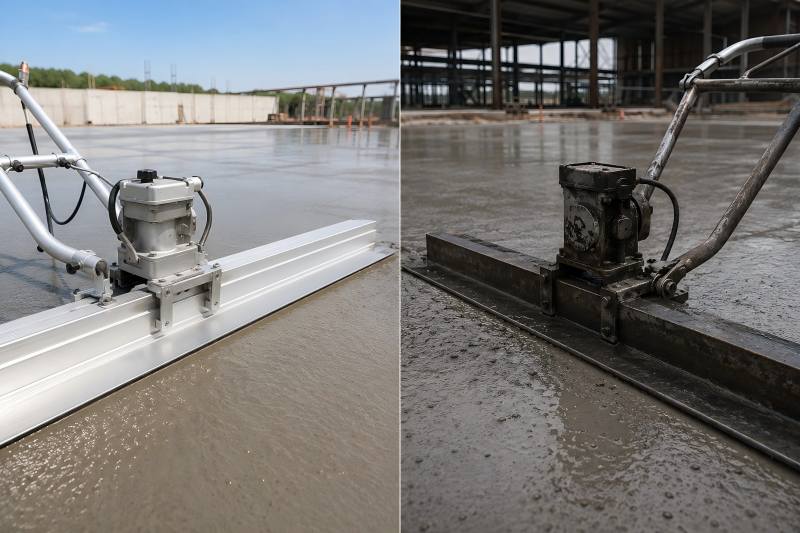
- Inspect the exciter housing for oil leaks or unusual noise.
- Open the belt guard and examine V-belts for slippage, cracks, or looseness.
- Verify the engine and exciter box’s oil levels.
- Listen for changes in vibration when engine speed is adjusted.
Manufacturer Tip: A worn exciter bearing can dramatically reduce compaction efficiency. Replace immediately if noise or vibration inconsistency is noticed.
Excessive Vibration or Noise
Possible Causes:
- Loose or missing bolts
- Damaged shock mounts or isolators
- Debris stuck under baseplate
- Worn exciter components
Troubleshooting Steps:
- Tighten all external bolts, especially around the handle and exciter case.
- Inspect rubber shock mounts for tears or compression damage.
- Flip the plate compactor and clean the underside.
- Listen to the exciter for grinding—replace gears or bearings if damaged.
Manufacturer Tip: Check vibration isolators every 40 operating hours for cracks or wear.
Engine Overheating
Possible Causes:
- Blocked cooling fins
- Engine overloading
- Low oil level
- Dirty air filter
- Poor fuel quality
Troubleshooting Steps:
- Turn off the engine and let it cool.
- Clean all air vents and cooling fins with compressed air.
- If clogged, replace the air filter.
- If the engine oil level is low, check it and top it off.
- Make sure the throttle setting matches the compaction load.
Manufacturer Tip: Never operate the compactor in enclosed spaces—it restricts airflow and accelerates overheating.
Fuel Leaks or Fuel System Issues
Possible Causes:
- Loose fuel cap
- Cracked fuel line
- Faulty carburetor gasket
- Overfilled fuel tank
Troubleshooting Steps:
- Check the fuel tank and cap for cracks or seal damage.
- Inspect fuel lines for brittleness or leaks.
- If fuel drips after shutdown, inspect the carburetor for a stuck float valve.
- Replace gaskets or tighten fittings as necessary.
Manufacturer Tip: Avoid overfilling the tank. Leave space for fuel expansion to prevent leaks during high-temperature operation.
Poor Forward Movement or Skidding
Possible Causes:
- Uneven surface or soft ground
- Improper baseplate design for material type
- Belt slippage
- Vibrator not engaging fully
Troubleshooting Steps:
- Test the compactor on a flat, solid surface.
- Check and adjust belt tension.
- Examine the vibrator for worn clutch components.
- Inspect the underside of the plate for warping or uneven wear.
Manufacturer Tip: Choose reversible compactors for wet or sloped terrain where forward-only models struggle.
Compactor Plate Sticking to Asphalt
Possible Causes:
- Operating without a water tank
- Hot asphalt sticking to baseplate
- Rough or damaged plate surface
Troubleshooting Steps:
- Use a water spray system to keep the baseplate cool and clean.
- Apply anti-stick coating or soap solution before compacting hot asphalt.
- Sand and smooth out burrs or dents on the bottom of the baseplate.
Manufacturer Tip: For asphalt jobs, always use a plate compactor with a water tank and spray system.
Low Vibration Frequency
Possible Causes:
- Incorrect exciter oil level
- Slipping belts
- Engine not running at full throttle
- Worn vibration shaft
Troubleshooting Steps:
- Check and refill exciter oil using manufacturer-specified oil grade.
- Inspect belt tension and replace if worn.
- Confirm throttle lever is not stuck or misaligned.
- Replace the vibration shaft if excessive wear is detected.
Manufacturer Tip: Every 200 hours or as directed by the handbook, exciter oil should be changed.
Excessive Smoke from the Engine
White Smoke Causes:
- Water in fuel
- Low engine temperature
- Faulty head gasket
Black Smoke Causes:
- Rich fuel-air mixture
- Dirty air filter
- Clogged carburetor
Blue Smoke Causes:
- Burning oil
- Overfilled engine oil
- Worn piston rings
Troubleshooting Steps:
- Replace or drain contaminated fuel.
- Replace or clean the air filter.
- Avoid adding too much oil to the engine.
- Replace or rebuild internal engine parts if wear is excessive.
Manufacturer Tip: Keep a log of smoke color and occurrence frequency—it helps diagnose engine condition over time.
Tips for Regular Maintenance to Avoid Issues
Extended machine life and fewer breakdowns are the results of proper maintenance. Follow this schedule:
| Task | Frequency |
| Check oil level | Daily before use |
| Clean air filter | Weekly |
| Inspect V-belts | Every 20 hours |
| Tighten bolts and screws | Every 40 hours |
| Change engine oil | Every 50 hours |
| Replace air filter | Every 100 hours |
| Change exciter oil | Every 200 hours |
| Full system inspection | Monthly |
Manufacturer Tip: Create a digital maintenance checklist to improve accountability and tracking across your equipment fleet.
When to Call a Professional Technician
Many problems can be fixed internally, but some call for skilled technicians:
- Persistent engine stalling or overheating
- Fuel system damage or carburetor failure
- Severe exciter component failure
- Electrical issues or coil malfunctions
- Cracked baseplates or frame damage
Professional help ensures safe repairs, warranty compliance, and correct parts replacement.
Troubleshooting a plate compactor doesn’t need to be overwhelming. Most issues can be identified through visual checks, basic tests, and careful observation. From startup failures to poor compaction output, each symptom offers clues to the underlying cause.
As a manufacturer, we recommend staying proactive. Routine maintenance, prompt troubleshooting, and operator training can dramatically reduce downtime and repair costs. Investing in diagnostic knowledge empowers operators and maintenance teams to keep plate compactors performing at their best, job after job.
Whether you operate a single unit or manage an entire compaction fleet, this guide serves as your go-to resource for identifying and resolving common problems with confidence.