The right time to cut a concrete control joint is a window, not a fixed appointment. The slab must resist unacceptable damage from the cutting operation, yet the joint must be formed before uncontrolled cracking defeats its purpose. Waiting until a convenient morning can miss that window. Cutting immediately after finishing can damage concrete that is still too weak.
A useful cutting plan combines the approved joint layout, the chosen saw system, local conditions and observations from the slab itself. It gives one person responsibility for checking readiness and gives the crew enough capacity to finish the required cuts while conditions remain suitable.
Understand What The Cut Is Intended To Do
A contraction joint introduces a planned reduction in the slab’s section so that shrinkage movement is more likely to produce a crack at that location. It does not stop concrete from shrinking, and it cannot guarantee that no other cracks will develop.
This is different from an isolation joint, which separates a slab from adjoining elements, or a construction joint created where placement stops. Confusing these functions can lead to inappropriate cutting locations or incorrect expectations. The cutting crew should receive a drawing showing the intended joint type, alignment and depth.
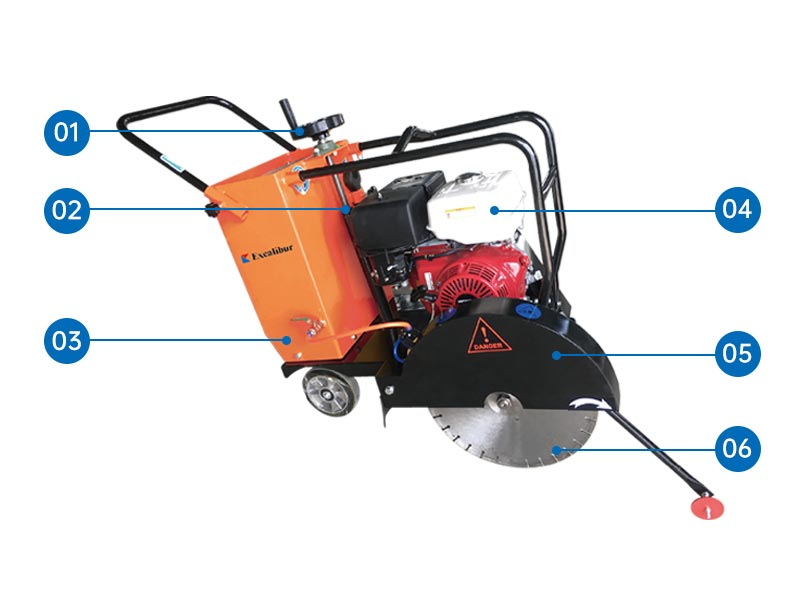
A walk-behind concrete saw is part of that plan. It does not replace the joint design. Machine capability, blade suitability and cutting technique must support the project requirements rather than determine them after the concrete has been placed.
Use Time Ranges To Organise The Crew, Not To Release The Cut
Common planning references place conventional saw cutting within roughly 4 to 12 hours after finishing, while purpose-built early-entry systems may operate approximately 1 to 4 hours after finishing. These ranges describe typical practice under suitable conditions. They are not guaranteed start times for every slab.
The important reference point is also easy to confuse. Time after the truck arrives, time after placement begins and time after a particular area is finished are different measurements. A large pour can contain several concrete ages at once.
| Cutting approach | Indicative planning period after finishing | What must be verified |
| Purpose-built early-entry system | Approximately 1–4 hours | System suitability, surface support and acceptable trial-cut quality |
| Conventional saw cutting | Approximately 4–12 hours | Concrete strength at the cut, blade match and remaining time before cracking |
| Very hot, dry or rapidly cooling conditions | No dependable clock-only rule | Closer observation and an adjusted cutting programme |
| Cold or slow-setting concrete | Readiness may develop later | Actual slab response rather than an automatic delay until morning |
The project specification and equipment instructions take priority. A standard floor saw should not be described as an early-entry saw simply because the operator starts it earlier. Early-entry performance depends on the complete machine, blade and surface-support arrangement.
Observe The Slab Rather Than Guessing From Its Appearance
A surface can look dry while the concrete immediately below it remains vulnerable. Wind and sunlight may change the top layer faster than the interior. Conversely, a slab can gain enough strength for cutting while still appearing dark or damp.
Readiness therefore needs a controlled trial at an approved location on the intended joint line. Check whether the machine can travel without marking the surface and whether the cut edges remain acceptable. Follow the saw manufacturer’s procedure and the project team’s acceptance criteria.
Examine the cut itself, not just the sound of the engine. Look for aggregate being pulled out, crumbling edges or a ragged groove. A clean cut in one corner does not automatically establish readiness across a large slab with different finishing times and exposure.
- Confirm the joint line and specified depth before positioning the saw.
- Check that the machine, blade and cutting method suit the application.
- Make a short trial according to the equipment instructions.
- Inspect the groove and adjacent surface for unacceptable damage.
- Record the location, time and observed result.
- Extend cutting only when the responsible supervisor accepts the result.
Separate Early-Cut Damage From Equipment Problems
Ragged edges can indicate immature concrete, but they can also reflect unsuitable tooling, worn support components, blade movement or poor operating technique. Delaying the entire programme without checking the machine can waste the available window.
Before blaming concrete age, inspect the blade condition, mounting and permitted operating speed. Check any skid plate or other surface-support component required by the selected system. Confirm water delivery when wet cutting is specified, and follow the prescribed feed method.
If the equipment is correct but the trial still damages the edges, reassess readiness promptly. The interval between observations should reflect the rate at which the slab is changing. Avoid turning one failed trial into a blanket instruction to return several hours later.
Match The Cut Depth To The Approved Joint Detail
For many conventional contraction joints, a familiar starting rule is a depth of at least one quarter of the slab thickness, with a 25 mm minimum. This is general guidance for the relevant joint approach, not a substitute for the project’s approved detail.
| Slab thickness | One-quarter calculation | Illustrative conventional cut depth |
| 100 mm | 100 ÷ 4 | 25 mm |
| 125 mm | 125 ÷ 4 | 31.25 mm |
| 150 mm | 150 ÷ 4 | 37.5 mm |
| 200 mm | 200 ÷ 4 | 50 mm |
The table demonstrates arithmetic only. Early-entry joint systems may use different approved depths. Reinforcement position, slab design and other project-specific factors must be resolved before cutting. Do not cut reinforcement or tendons merely to achieve a generic depth ratio.
Verify the achieved depth using an appropriate checking method rather than assuming the handle setting equals the groove depth. Blade wear, surface variations and machine setup can affect the result. If the slab thickness differs from the drawing, obtain direction before changing the cut.
Account For Conditions That Move The Window
Concrete temperature, cementitious materials, admixtures and finishing time influence how quickly cutting becomes practical. Wind, humidity, direct sunlight and temperature changes influence the surface environment and the development of stress. These effects can overlap.
A shaded area may behave differently from a sunlit strip. Concrete placed near the end of a pour may not be ready when the first area is. Nightfall can introduce a temperature change while the crew assumes that cooler air simply means there is more time.
- Divide large placements into identifiable finishing zones.
- Record when each zone’s finishing operation is completed.
- Note major changes in weather and exposure.
- Keep the approved cutting sequence visible to the operator.
- Check unusual areas independently rather than following one site-wide clock.
These records are especially useful when the mixture or supplier changes. Experience from last week’s pour provides a starting expectation, but it does not prove that today’s slab will behave the same way.
Calculate Whether One Saw Can Finish The Work
Starting at the right moment is not enough if the crew cannot complete the joint network in time. Estimate the total cutting length, including the approved lines around columns, openings and other details. Add realistic time for turns, repositioning, blade changes and inspection.
Consider an illustrative job with 240 metres of joints. Assume a demonstrated net cutting speed of 1 metre per minute and 60 minutes for repositioning and checks. The blade would spend four hours advancing through the joint network, and the additional allowance extends the assignment to five hours.
If the project’s practical working window is only three hours, that plan needs revision before placement. Possible responses include different pour organisation, additional suitable equipment or another approved cutting approach. Increasing feed speed beyond the equipment or concrete’s capability is not a sound solution.
The assumed speed is a calculation example, not a performance claim for any Excalibur model. Actual output depends on cut depth, aggregate, blade, machine, operator and site layout. Measure production on comparable work and allow contingency.
Prepare The Saw And Support Equipment Before Finishing Ends
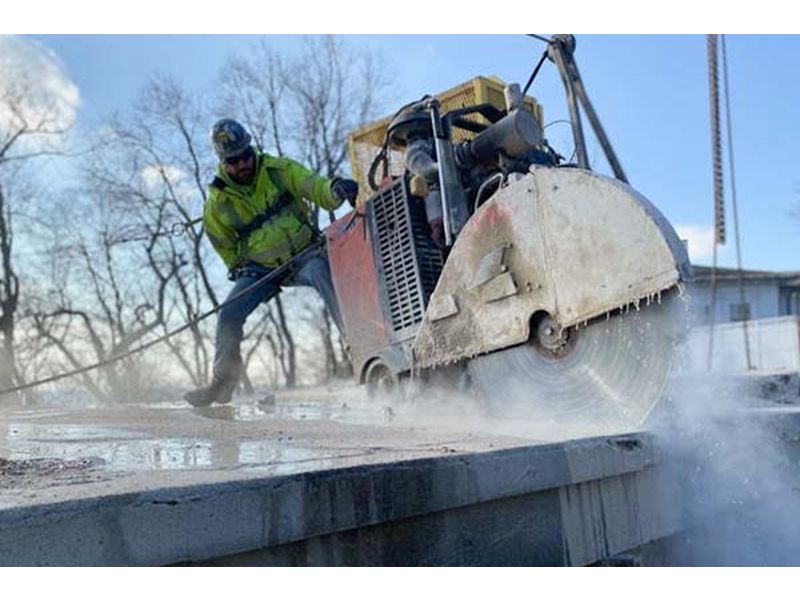
A missing blade, empty fuel container or blocked water line can turn a manageable programme into emergency work. Inspect the concrete saw configuration before the pour, including blade compatibility, required depth and the chosen wet or dry cutting arrangement.
Plan lighting for work that could extend after dark. Arrange the specified dust or slurry controls and keep access routes clear. When cutting inside a building, the power source and ventilation arrangements must suit the location; an outdoor combustion-engine setup is not automatically suitable indoors.
- Correct blade and any required spare tooling.
- Operational guards, controls and depth adjustment.
- Reliable power or fuel supply for the planned shift.
- Water, extraction or other controls required by the cutting method.
- Approved marking equipment and a readable joint plan.
- A contingency for machine failure or changing slab conditions.
Keep Curing And Cutting Responsibilities Connected
The slab still needs its specified curing treatment. Cutting should be coordinated with that work, including any protection that must be moved and reinstated. Do not leave curing responsibility unclear between the finishing crew and the saw operator.
Wet-cutting slurry can obscure markings and contaminate adjacent surfaces. Plan collection and cleaning so the crew can inspect the joint and maintain the intended curing arrangement. Avoid washing residue into drains or allowing it to harden where later sealants or finishes must bond.
Joint filling or sealing is a separate operation with its own material and timing requirements. Completing the cut does not mean the groove should immediately receive whichever product happens to be available.
If Cracks Appear Before Cutting Is Complete
Record the crack location, timing and relationship to the planned joints. Inform the responsible project professional promptly. An existing random crack will not disappear because a nearby groove is added, and additional cuts may not repair the underlying problem.
Do not improvise a new joint network, cut through reinforcement or promise a structural repair without an approved assessment. The remaining cutting work may still be necessary, but its sequence and any change in detail should be directed by the project team.
After the immediate response, review the programme. Was the first trial delayed? Was there insufficient saw capacity? Did the concrete or weather differ from the planning assumptions? Recording the sequence helps improve future work without reducing every crack to a single presumed cause.
Use A Short Cutting Record For Each Pour
A simple record can capture the decisions that are otherwise lost during a busy finishing shift. Include the pour zone, finish time, saw identification, blade, specified depth, trial result and completed cutting length. Note who accepted the trial and any instruction that changed the sequence.
For repeat projects, compare these records with actual weather and production. They help estimate staffing and equipment requirements more accurately than a fixed rule such as “always cut tomorrow.” They also make it easier to explain why two apparently similar pours required different schedules.
Agree Who Makes The Start Decision
The most detailed plan can fail if everyone assumes someone else is watching the slab. Name the person who will request the trial cut, the person who will judge its quality and the person who can call for extra equipment. Make their contact details available to the evening crew.
If the finishing team leaves before cutting starts, use a direct handover. Identify which areas were finished first, where conditions differed and what curing work has already been done. A message saying only that the concrete is finished gives the saw operator too little information.
For multiple pours on the same site, label the zones clearly. An operator should not have to infer concrete age from colour or from the position of the last delivery truck. Clear responsibilities turn observations into timely action.
Give The Equipment Supplier The Complete Cutting Assignment
When requesting a quotation, provide the slab thickness, required groove depth, total joint length, site power conditions and expected daily workload. Explain whether the task is conventional contraction-joint cutting, another floor-cutting operation or a project requiring a purpose-built early-entry system.
Send those details to the Excalibur sales team with the approved joint requirements. Ask the supplier to confirm the machine and blade configuration for the intended method, then incorporate that information into the site’s cutting plan before the concrete arrives.