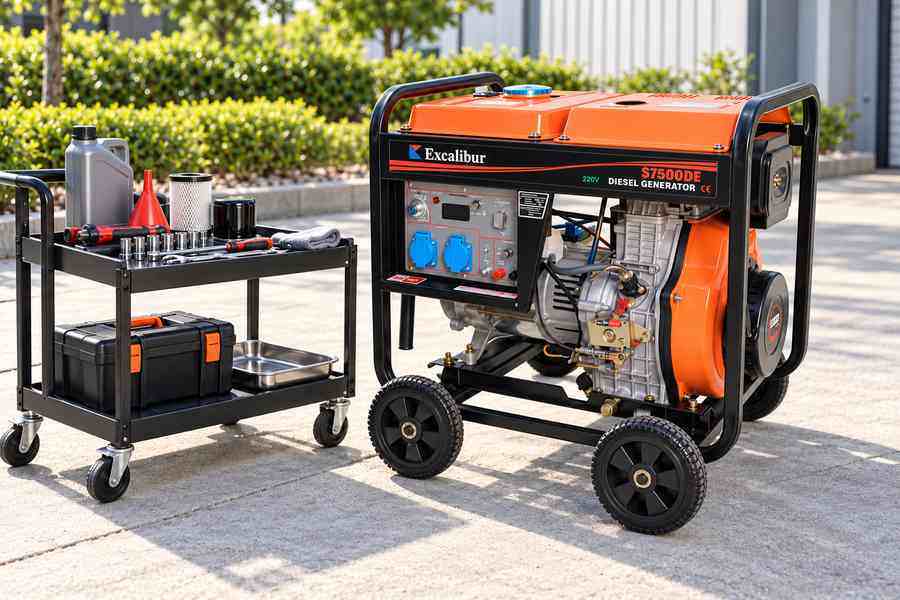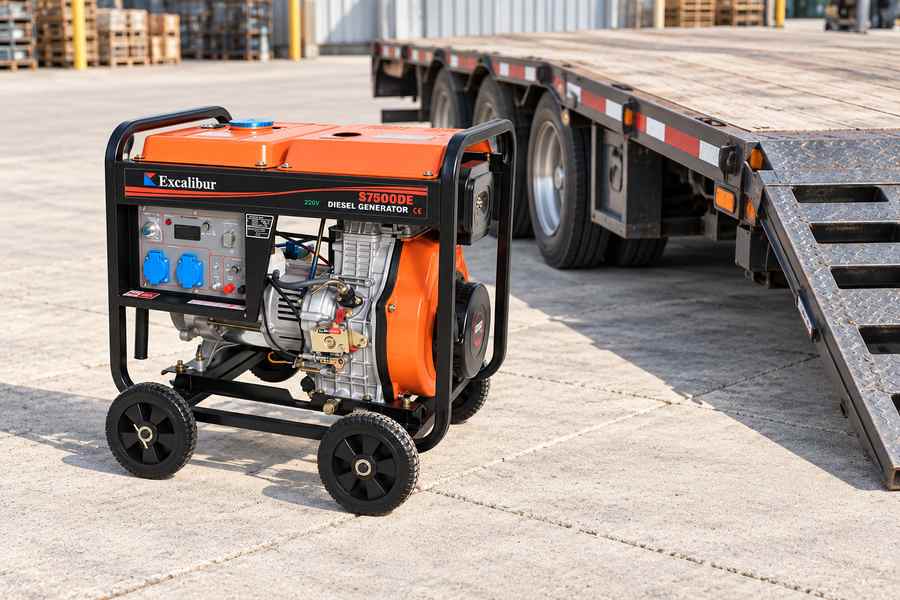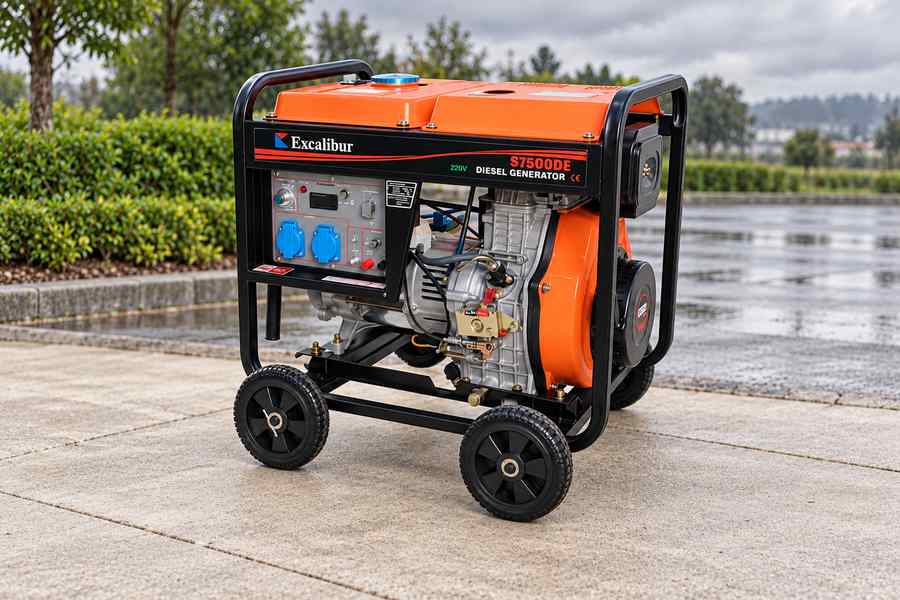
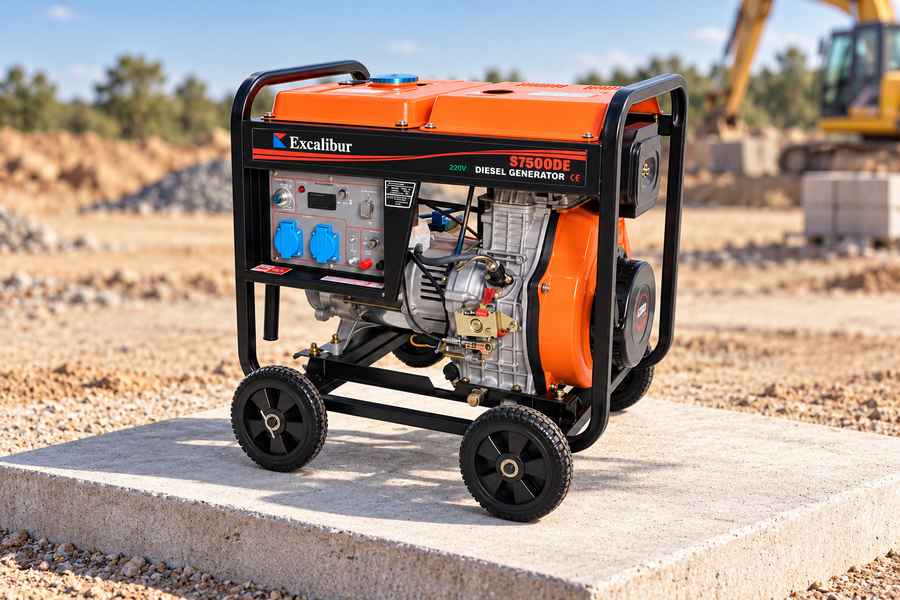
Plan air-filter and cooling-fin maintenance around the generator’s own instructions and the dust conditions it actually encounters. Build the site’s routine around the engine’s published service schedule, including its separate provisions for severe dust exposure. Treat combustion-air filtration and engine cooling as separate tasks: a clean filter does not prove that cooling fins are clear, and clean fins do not prove that the intake is sealed.
A useful plan combines placement, inspection triggers, approved cleaning methods, spare parts, and a short service record. It should help the operator recognize deteriorating conditions before the generator loses performance. Avoid replacing that plan with a universal interval such as cleaning every few hours, because dust type, concentration, filter construction, and engine design vary.
Identify The Air And Cooling Systems
Confirm whether the engine is air-cooled or liquid-cooled and identify its air-cleaner arrangement. A dry paper element, foam pre-cleaner, oil-bath cleaner, or multi-stage assembly can require different maintenance. Use the parts and instructions for the actual engine.
For an air-cooled diesel, locate the cooling-air inlet, fan shroud, and cylinder and head cooling surfaces identified in the manual. Also identify the alternator’s ventilation openings. These paths serve different components and should not be combined into a single vague instruction to clean the generator.
Some engines include an intake restriction indicator or a specified inspection method. Establish whether one is fitted and how its reading is interpreted. Do not invent a restriction limit or fit an unapproved device merely because another model uses one.
Excalibur’s open-frame diesel generator models include air-cooled configurations, but the final maintenance instructions must match the selected engine and air cleaner. Record those identities in the service plan. An open-frame layout does not make every internal cooling surface visible.
Assess The Dust Source Before Setting The Routine
Identify what produces the dust and when exposure is greatest. Vehicle traffic, soil handling, cutting, grinding, and material transfer create different patterns. The generator may receive much more contamination during a short nearby operation than during the rest of the shift.
Look at wind direction, the generator’s intake position, and the surrounding work sequence. Where the operating requirements permit, position the generator away from concentrated dust sources while preserving exhaust safety, cooling clearance, and electrical access. Moving it into an enclosed shed to avoid dust introduces other hazards.
Do not cover air openings with cloth or an improvised filter to keep dust out. Added restriction can interfere with the airflow that the engine or alternator requires. Any additional intake or filtration arrangement needs manufacturer approval.
Include the dust characteristics in the discussion with the supplier. Fine powder, fibrous debris, and oily contamination do not behave identically. A plan suited to dry soil dust may be ineffective where material sticks to surfaces or bridges across cooling openings.
Build An Inspection Schedule With Clear Triggers
Start with the operating manual’s routine and severe-service provisions. Ask the supplier how those provisions apply to the intended site if the wording is unclear. Keep the approved maintenance interval separate from any more frequent visual checks chosen for site supervision.
Use operating hours alongside observations of exposure. Record unusual dusty work, a change in generator position, damaged intake parts, and any restriction indication. These events may justify inspection before the next scheduled service.
Assign responsibility for the checks and specify what can be inspected without disassembly. Frequent unnecessary opening of an air cleaner can itself create opportunities for contamination. The operator should know when to look externally, when to read an indicator, and when a trained person must service the assembly.
Review the first period of operation closely enough to understand the site, then adjust the documented routine with the manufacturer’s guidance. Do not simply extend intervals because the machine has not yet stopped. The purpose is to manage contamination before it causes a fault.
Keep Dirt Out During Air-Filter Service
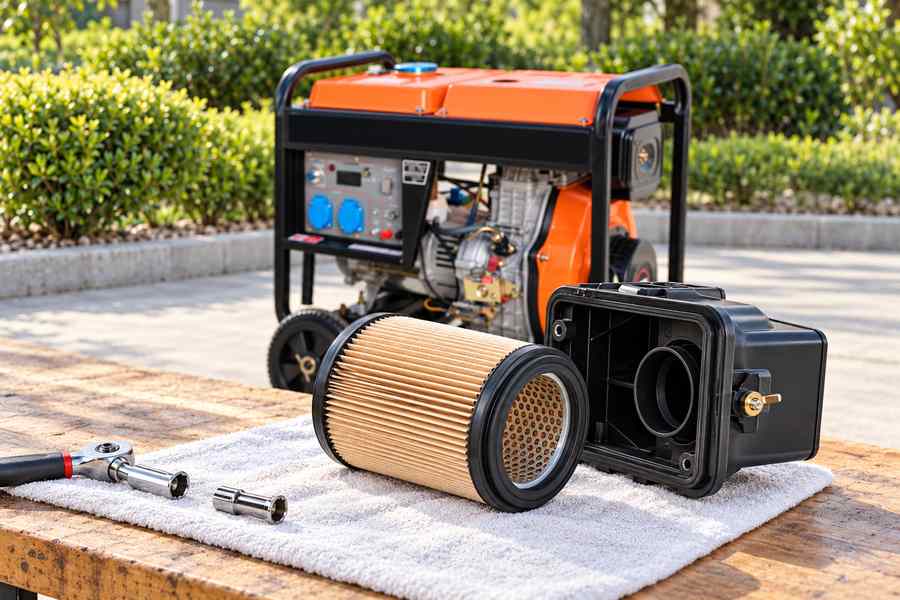
Stop the generator, prevent unexpected starting, and allow the relevant components to cool before servicing. Prepare a clean work area and the correct replacement parts. Opening a filter beside active dust-producing work can undermine the service operation.
Clean the outside of the housing using the approved method before opening it. Identify the dirty side and clean side, and prevent loose material from entering the intake. Do not push debris through an opening while trying to make the outside look clean.
Remove the element using the specified procedure and inspect the housing, sealing surfaces, and retaining parts. Look for damage, poor seating, or signs that dust has bypassed the filter. A filter element cannot work correctly if the housing or seal allows an alternative path for unfiltered air.
Keep the intake protected as instructed while the element is out. Do not run the engine without its proper air-cleaner assembly. Before reassembly, verify that the replacement part is correct and that no packing material or loose object remains in the housing.
Use The Cleaning Method Allowed For The Element
Follow the instructions for the exact filter type. Some elements are intended for replacement, while others have a defined cleaning procedure. Do not assume that washing, tapping, brushing, or compressed air is permitted for every element.
If compressed-air cleaning is explicitly allowed, follow the stated pressure, direction, distance, and handling requirements. Excessive pressure or careless positioning can damage the media or drive contamination where it should not go. Do not borrow a pressure value from an unrelated filter.
Likewise, do not apply oil to a dry paper element because another engine uses an oiled foam filter. Cleaning agents and oil quantities, where applicable, must match the approved procedure. An element that looks clean may still be damaged or incorrectly treated.
Replace an element that fails the manufacturer’s inspection criteria. Record the reason for replacement rather than repeatedly trying to restore a damaged part. Keep spare elements sealed and clean until use, and avoid storing them in the same dusty compartment as used parts.
Inspect The Entire Intake Path
Air-filter maintenance should include the relevant housing, hoses, clamps, and connections. A split hose or loose connection downstream of the filter can allow dust into the engine even when the element is new. Have the supplier mark the joints requiring inspection on a photo of this intake assembly.
A clamp should be adjusted only by the specified method, rather than tightened simply because it is accessible. Excessive force can damage housings or connections, while incorrect assembly can distort a seal. Follow the specified installation and inspection method.
If dust appears on the clean side, stop and investigate the path it took. Simply fitting another filter may leave the underlying fault unresolved. Obtain service advice if there is evidence that contamination has entered the engine.
After reassembly, check that covers, seals, and retainers are correctly fitted and that the intake path is complete. Keep the work record tied to the generator’s identity and operating hours. This makes repeated seal or housing problems easier to recognize.
Clean Cooling Fins Without Damaging The System
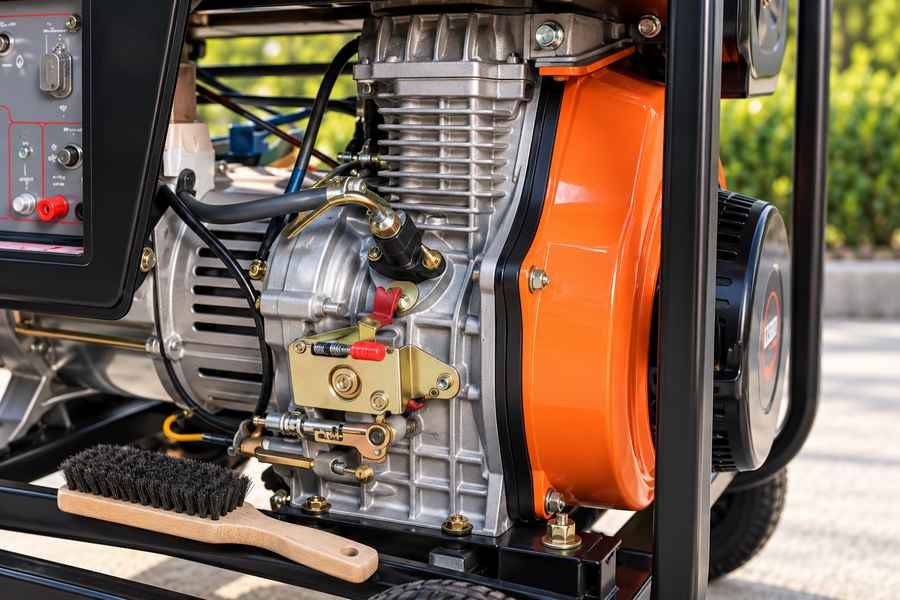
Cooling fins need exposed surface area and airflow to transfer heat effectively. Dust and debris can obstruct passages or form an insulating layer, particularly when mixed with oil. Inspect the areas identified by the engine manufacturer rather than cleaning only the most visible outer surfaces.
Use the permitted tools and cleaning method. Avoid bending fins, forcing debris deeper into the assembly, or directing contamination into the alternator, electrical connections, or intake. Protect nearby components as specified in the maintenance instructions.
If shrouds or guards must be removed, follow the service procedure and keep track of fasteners and locating features. Those parts can direct airflow as well as protect people from moving or hot components. Running with a shroud missing can reduce cooling even though more of the engine appears exposed.
Investigate oil leakage where it causes dust to stick repeatedly. If a leak keeps coating the fins with oil, cleaning alone leaves the mechanism that attracts the next layer of dust in place. Record the location and obtain the appropriate repair rather than adding increasingly aggressive cleaning methods.
Remember Alternator Ventilation And Nearby Equipment
Inspect the alternator’s accessible ventilation openings using its own maintenance guidance. Dust accumulation can affect heat removal and electrical condition. Cleaning an alternator may require precautions different from cleaning engine fins, especially around windings and electronic components.
Do not wash electrical components or direct high-pressure air into them without an approved procedure. A method that removes visible dust can still force contamination into bearings or damage insulation. Refer internal cleaning and electrical testing to qualified personnel where required.
Check that stored tools, packaging, cables, and temporary barriers have not obstructed airflow around the generator. A clean machine can overheat if its installation prevents air from moving as intended. Include the immediate surroundings in the inspection.
Review any unusual temperature warning, loss of output, or change in sound with the service provider. These symptoms can have several causes, so avoid diagnosing every problem as a dirty filter. Use observations to guide the investigation rather than treating cleaning as a universal repair.
Record What The Dust Inspection Found
Use a brief service entry that the shift team can complete beside the stopped machine. Include the date, operating hours, location, notable dust exposure, inspection findings, work performed, and parts fitted. Record the person’s name or role responsible for returning the machine to service.
| Area | Observation to record | Action basis |
| Air-cleaner exterior | Damage, contamination, loose covers, restriction indication if fitted | Engine instructions and site exposure |
| Filter and seals | Condition, seating, approved cleaning or replacement | Exact element service procedure |
| Intake connections | Cracks, looseness, or clean-side dust | Inspection and repair requirements |
| Cooling fins and shrouds | Obstruction, sticky deposits, damaged or missing parts | Approved cleaning and reassembly method |
| Alternator ventilation | Accessible buildup and surrounding airflow obstruction | Alternator maintenance guidance |
Use the record to identify recurring problems. Frequent filter damage may point to handling or a poor storage practice, while repeated oily deposits may indicate a leak. Correcting the cause can be more useful than shortening every maintenance interval.
Order The Parts And Support The Site Needs
Before delivery, obtain the correct filter part numbers, seals, approved consumables, and relevant manuals. Ask which work can be performed by the site team and which requires a service technician. Include any required training or special tools in the ownership plan.
When selecting among diesel generator configurations, describe the dusty environment rather than asking only for a power rating. Cooling arrangement, filtration, service access, and support can affect the practical suitability of the machine. Confirm the final maintenance provisions for the exact model.
At the start of the job, assign inspection responsibilities and establish a clean servicing location. Keep spare filters protected, preserve the required airflow, and revise the routine when the work or dust exposure changes. That combination creates a maintenance plan based on the equipment and site, rather than an arbitrary calendar reminder.